It just wouldn't be Christmas without gears and chains, gaslights and insects under glass. Besides, all that silver and copper, bronze, and gunmetal are so delightfully sparkly!
A Steampunk Christmas tree is (as I found out) a lot of making. Okay, maybe it's just that my creativity exceeds needs a time warp. Although I started just after Thanksgiving, I still didn't have everything done by the morning of December 25th. Even now, I have more ideas! But at some point, one just has to stop.
In designing the tree, I started with a couple of foundational concepts. First, to juxtapose all the metal colors that I can find (including as much stuff as I can mind in metal), and secondly to utilize a Victorian aesthetic. That aesthetic includes all sorts of embellishments, as well as really packing the tree with ornament.
If you're familiar with my Christmas trees, you've seen the effect of that last part. Honestly, I kinda fell short on the Steampunk tree this year. It's that resources thing - hours in a day, finances and suitable materials available. There are some really large brass stampings on EBay that I'm going to get for next year. And more glass ornaments, and... in short, it needs about 50% more stuff on it. Trust me.
Additionally, my Steampunk aesthetic involves "not having matching things." Although I might make 6 ornaments that are similar, they will all be unique. Using different beads, or chains, or assemblages of stuff, the viewer finds new amusements on every part of the tree.
So, some pictures and commentary.
Although I make a lot of what's on the tree, I also look for glass ornaments that fit the theme. The glass pocket watch was a gift from Sheila, and the candlestick is one of a set of eight that I picked up from Target. In the center is a simple chain tassel the uses a red glass bead and a gear for hanging.
If you look carefully, there's a pair of eyeglass loupes behind the watch.
Here's a decopauge star. It started as a molded craft paper star and then I covered it with random strips of solid and printed tissue paper.
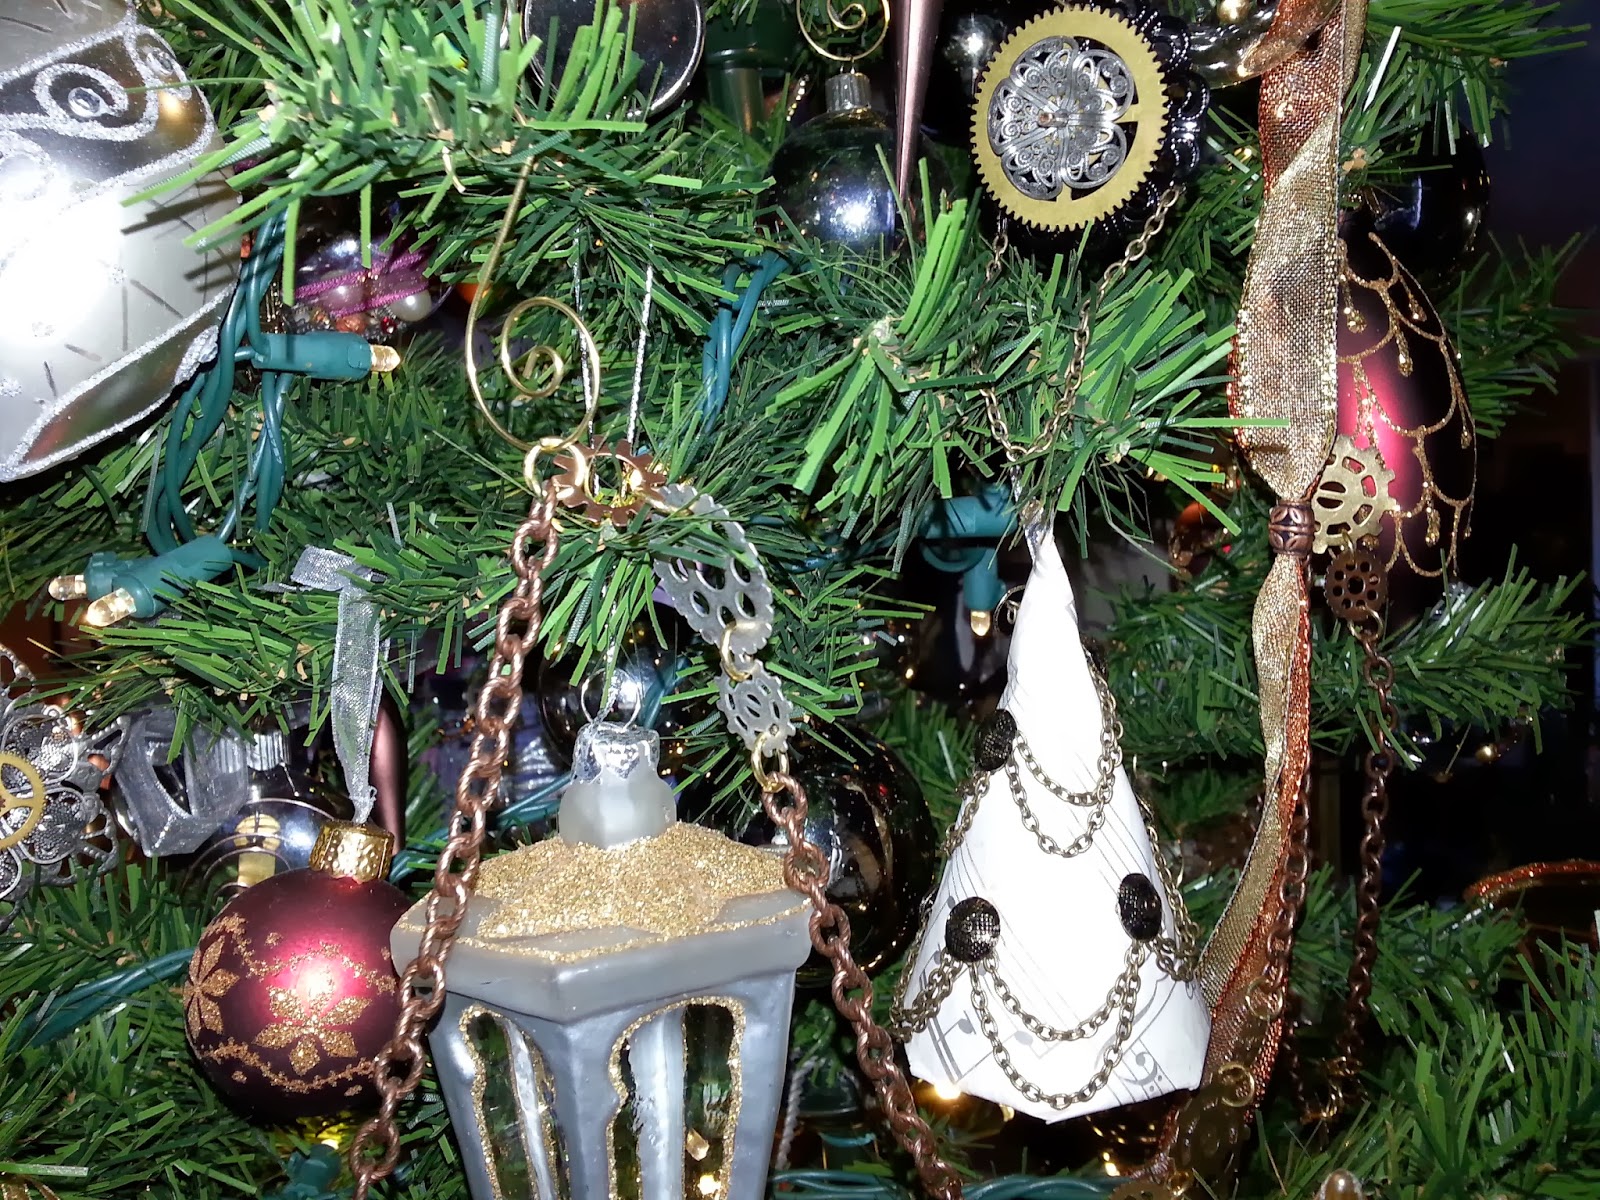
This picture has a nice selection of stuff. From the left, the 6-pointed star is a metal stamping with a gear center and - you can't see it, but - a tassel off the bottom. The round red is a purchased ornament, and the glass gaslight is one of two that I think I got at World Market last year. The cone "tree" is decopagued in vintage-looking paper and uses upholstery tacks to support the chain festoons. The copper and gold ribbon is a festoon, and there's a purchased glass ornament in the upper right corner.
The copper chain that drapes from the lower left corner is a festoon all over the tree; lengths of chain linked by gears, that you can kinda see in this photo. On a practical note, I tend to use faux gears on Christmas ornaments because they're not quite jewelry.
How do I know that there's not enough fru-fru on this tree? I can see green wires. More next year!
Next is a better picture of the chain and gear festoon. I found the spiral ornament holders which compliment the theme beautifully. The festoon is entirely supported by the spirals.
At the top is another stamping and gear assembly. You can also kinda see one of my "tree tricks": place plain silver balls in the center of the branches, near the trunk, to give the tree visual depth. The balls also serve to reflect a lot of light back to the viewer.

This photo does a good job of demonstrating the effect of layering ornaments on the tree. Not only is the image visually rich, but the hidden and revealed objects invite examination and exploration.
The frame ornament is made of one of some little metal frames that I found in the scrapbooking section at the hobby store. Adding the bead and tassel is so very Victorian. I used a decopage technique on this series of ornaments, with only marginal success. Next year, I'll use resin.
Also in this photo is some ornate silver glass, and another eyeglasses loupe. My Steampunk persona is an apioligist and lepidopterist, so I tend to look for bees and butterflies for my tree. Okay, so the silver winged thing on the left is a dragonfly, but that's close, right?
Another of the metal frames. Behind is a brown ornament that came to me whilst garage sale-ing last summer. The moral of the story: keep your eyes open.
Here are some of my favorite ornaments, the assemblages. They start their little lives out as empty clear ornaments and end up as a collection of found objects which move and conceal and reveal the contents. Go ahead - shake them up!
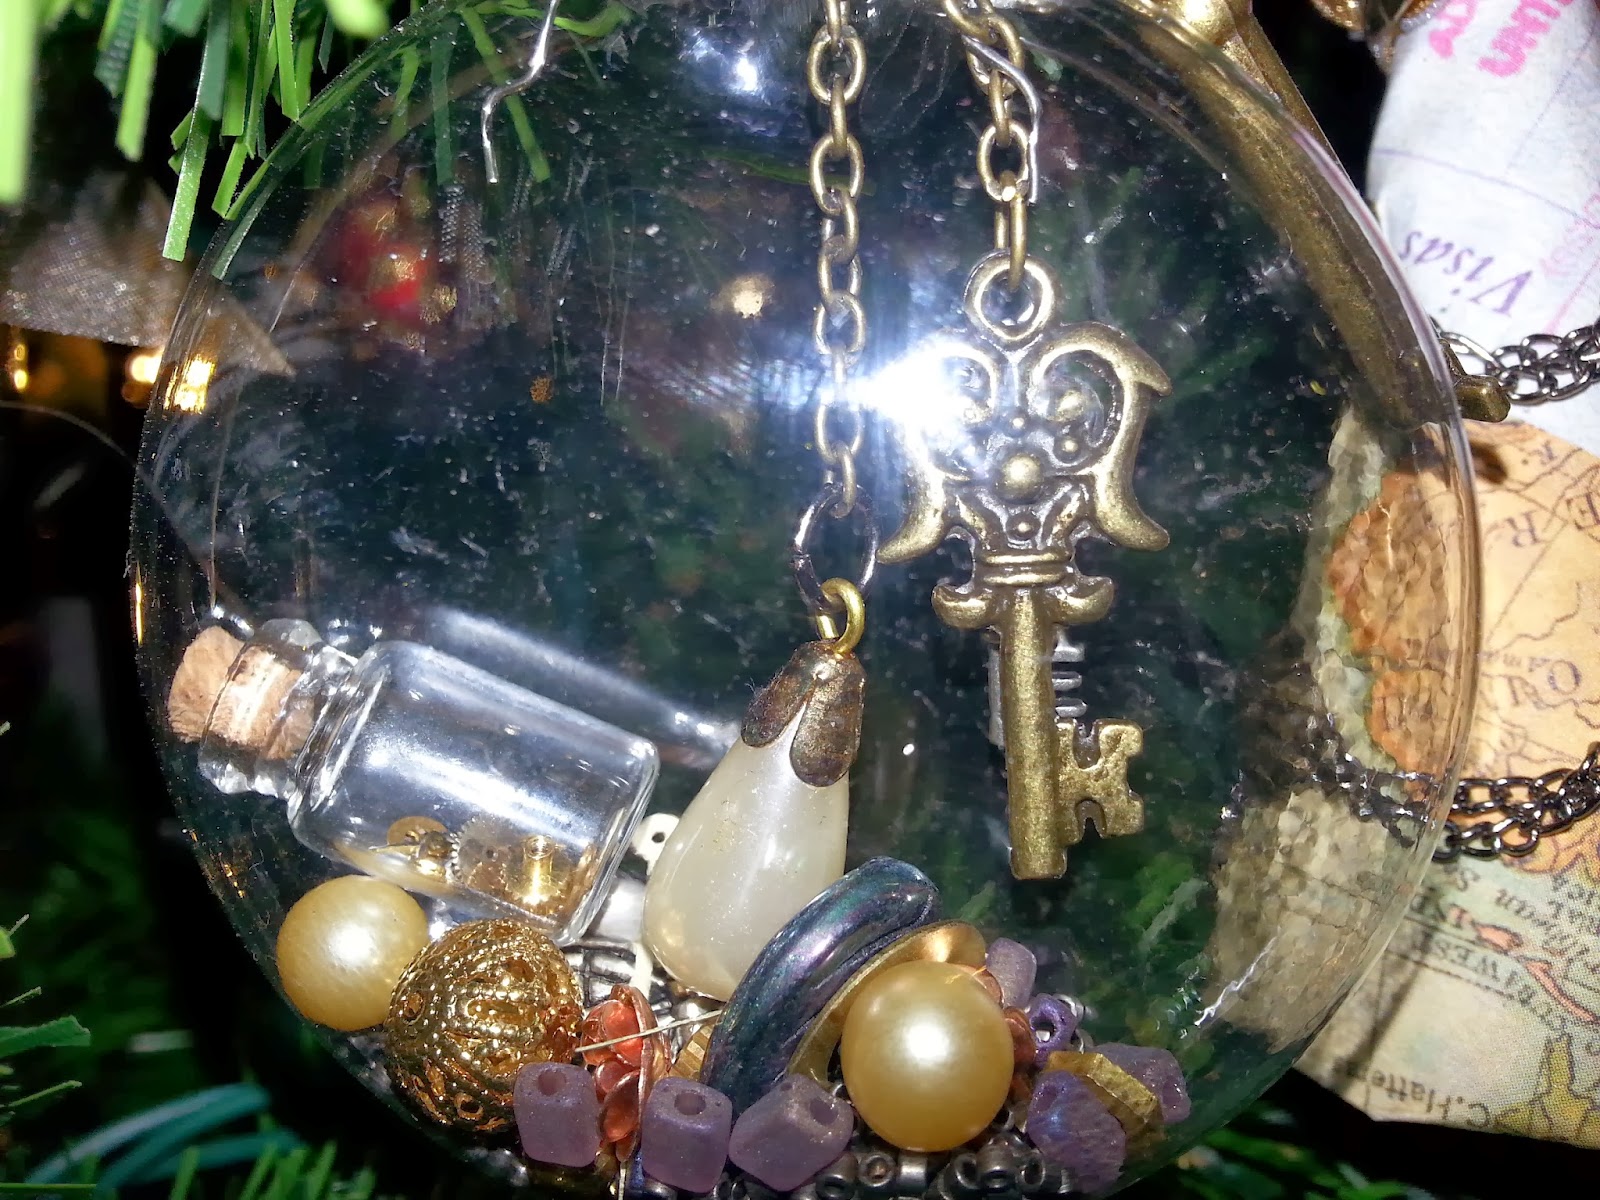
You'll find all sorts of things - beads, buttons, tiny jars of watch parts, keys, pieces of broken jewelry, clock parts, ribbon, stamps, chain, old coins, springs, lockets, and mill waste. Some of them are glass (breaking is spectacular!) but I recently used some plastic ones. The benefit of plastic - besides non-breakability - is that there is a little static electricity in there. Little tiny glass beads or glitter will cling slightly to the walls of the ornament and it's a pretty neat effect; snow globes anyone?

Some pictures without the tree clutter.
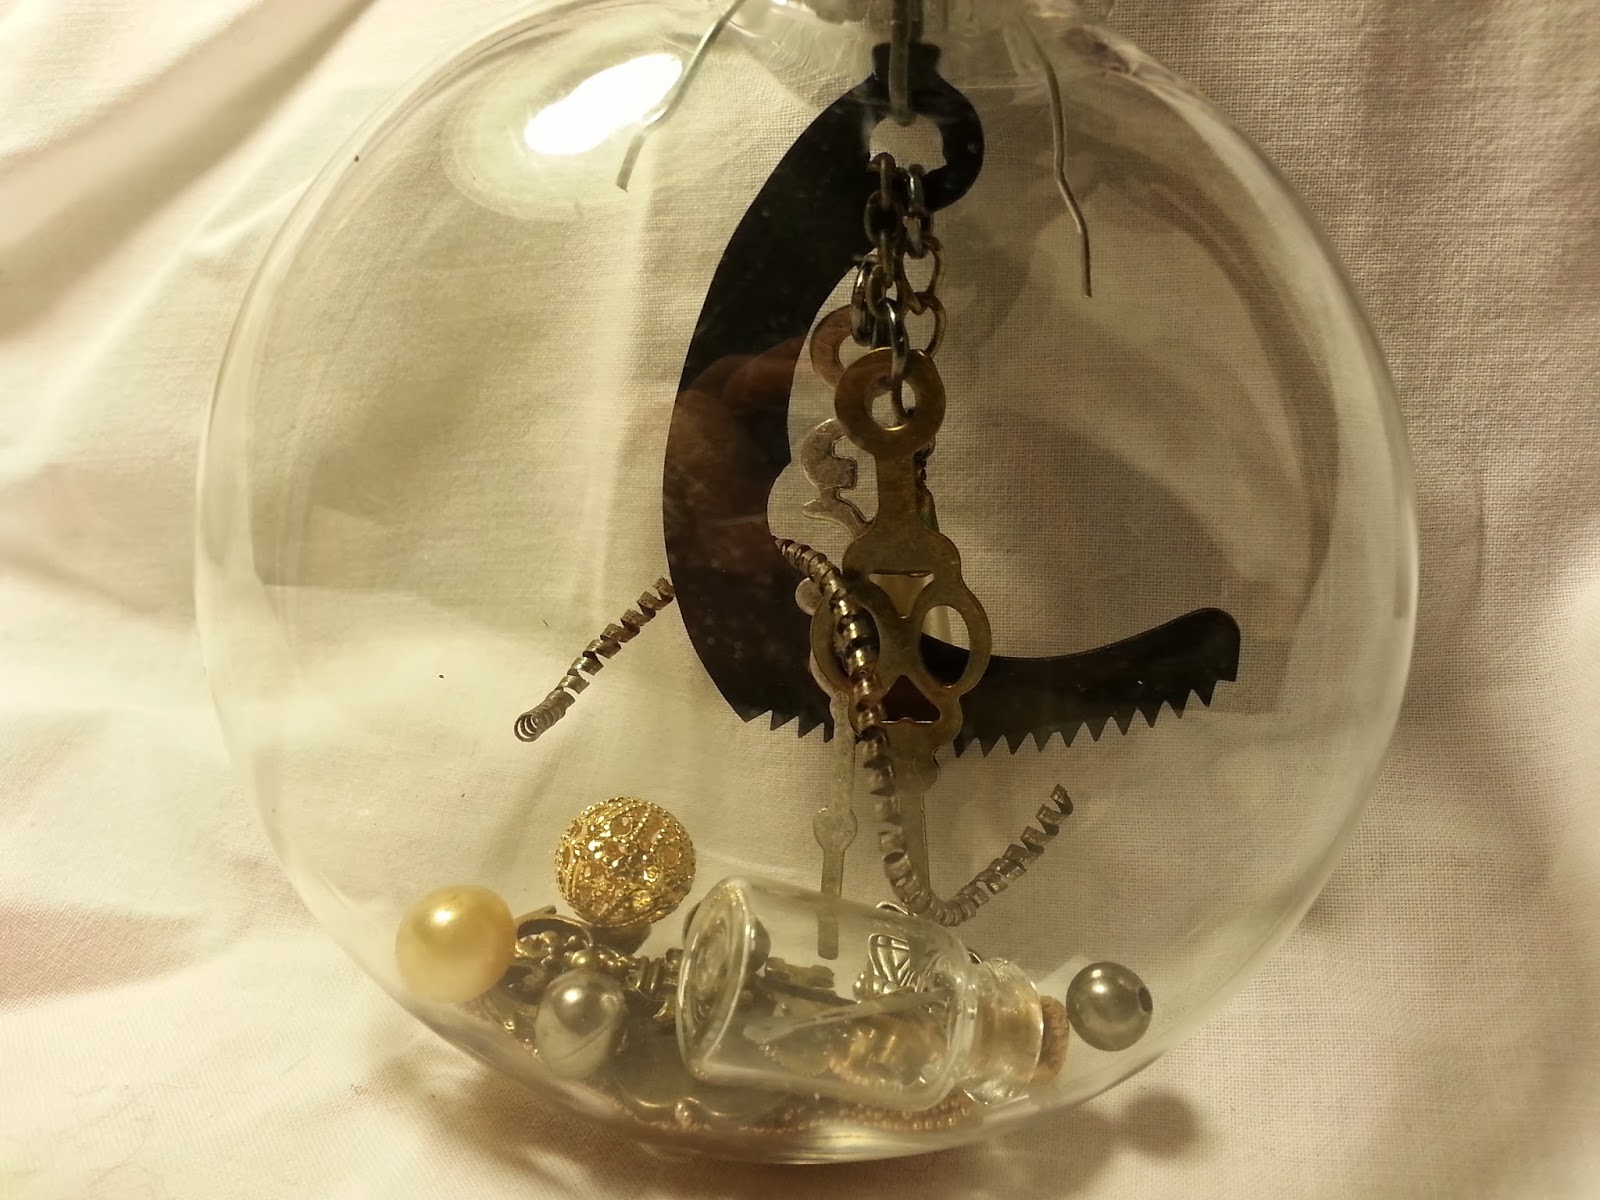
This first one has a large black clock part and clock hands suspended from the cap. There is a key in the bottom, a butterfly bead, a tiny bottle of watch parts and a bunch of beads, pearls, and ephemera.

As mentioned, no two are alike; this one comes with a bow and a key attached to the cap. One of the best parts about these assemblages is that you can use a lot of little random bits sitting around. Have a broken earring? Put it in there. A half-dozen dodgy pearls? A couple of tiny bells? A used stamp? Anything that fits, fits.
On another note - and another aesthetic choice - the reason that I like to put things together that do not match is that in one's adventures, one is likely to collect all sorts of ephemera. That button came from Cairo, when the original came off; that pearl is all that I could save from my mother's strand, when the tiger chased me through the trees. The little bottle was given to me by an African shaman to ward off the malaria. The key is to... hm, I think I'd rather not say.
Everything, in other words, is a story. It's almost like reading a novel. Indeed, one could begin a novel with one of these assemblages.

Another large clock part in brass, showing off a butterfly and pearl drop. The spiral in there is a piece of metal milling waste. You can see the locket, but not the army pistol badge. See what I mean?
And now........
Wait for it......
I can put all of this stuff away!